Development Tools:
The project was done using Python in Jupyter Notebook and with the use of the following libraries:
pyttsx3
pywin32
numpy
opencv-python
Project-related information:
In this project, I had to develop an application to detect and track moving cars.
First, import the video using the open cv library.
Once the video opened successfully, get the video width and height.
This information can be used to focus only on the part of the image that is of interest.
In order to detect motion, we follow these steps:
- Convert the image frame to greyscale
- Apply blur to the image frame
- Get a baseline still image from the first blurred frame
- Get the absolute difference between the current blurred frame and the baseline blurred image
- Create a threshold frame by filtering out all pixels below a certain brightness
- Apply image dilation to improve performance
All of these steps could be implemented by integrating over every pixel of every frame, but there is a Python library called Open CV that makes it really easy to implement the required steps.
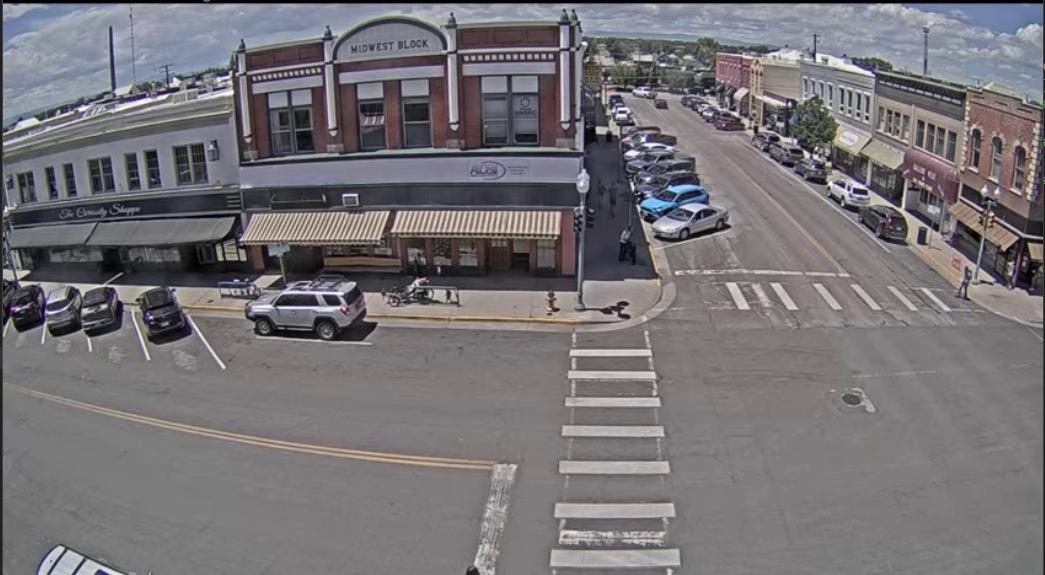
We start off with the normal video, as seen in the image below:
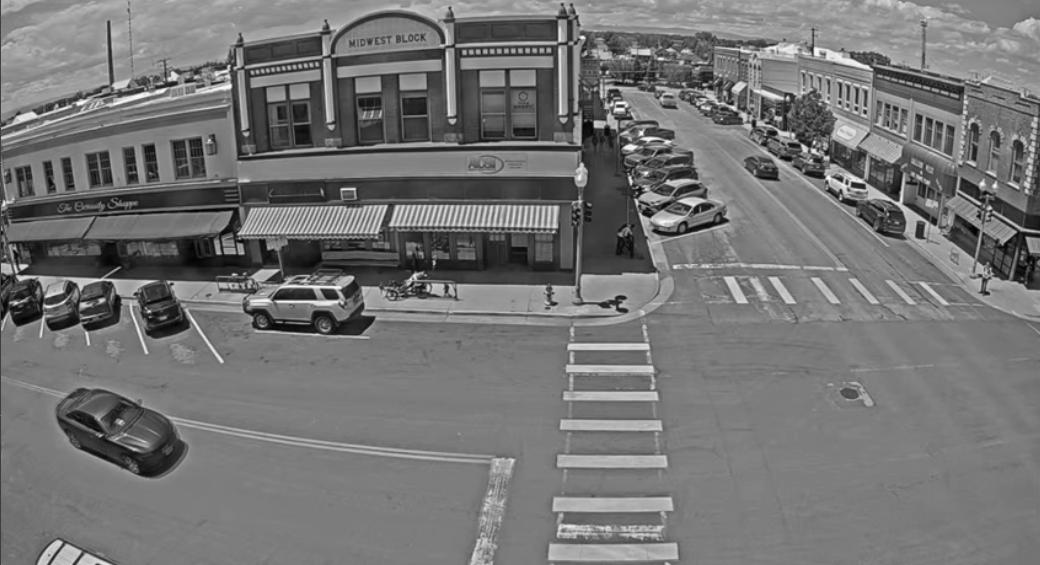
The first step is to convert from colour to greyscale.
This allows us to work with one pixel value from 0 to 255, as opposed to four pixel values, namely Red, Green, Blue and the Opacity, all with values between 0 and 255.
Having all the pixel information requires 32 bits and working with grey scale requires only 8 bits.
Below is a screenshot of the converted video.
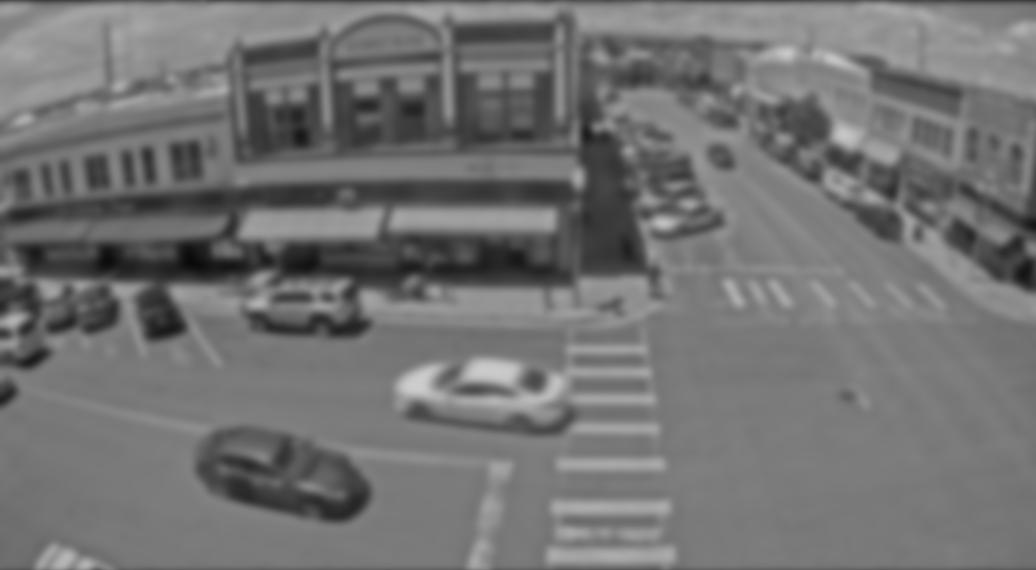
Next, we apply a blur to the image, which can be seen in the image below.
The baseline still image is the very first frame of the video.
All other frames are compared to the baseline frame, which allows you to detect the differences between the images.
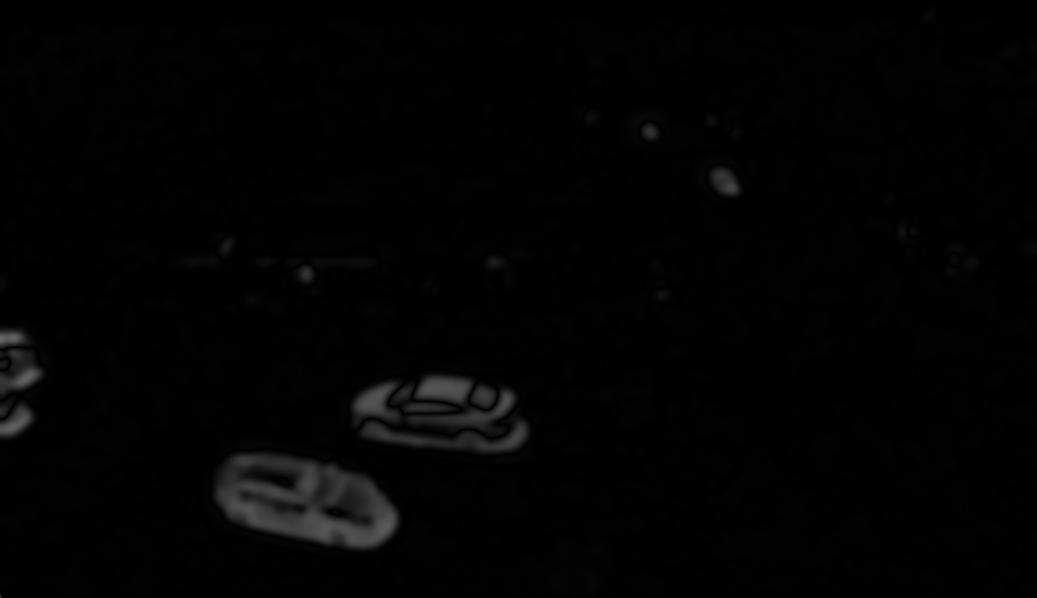
We do this by getting the absolute difference.
Below is an example of a frame with the absolute difference between it and the baseline image.
Once we have the differences, we can enhance it by filtering out pixels above or below a certain value or brightness.
That will result in the image you see below.
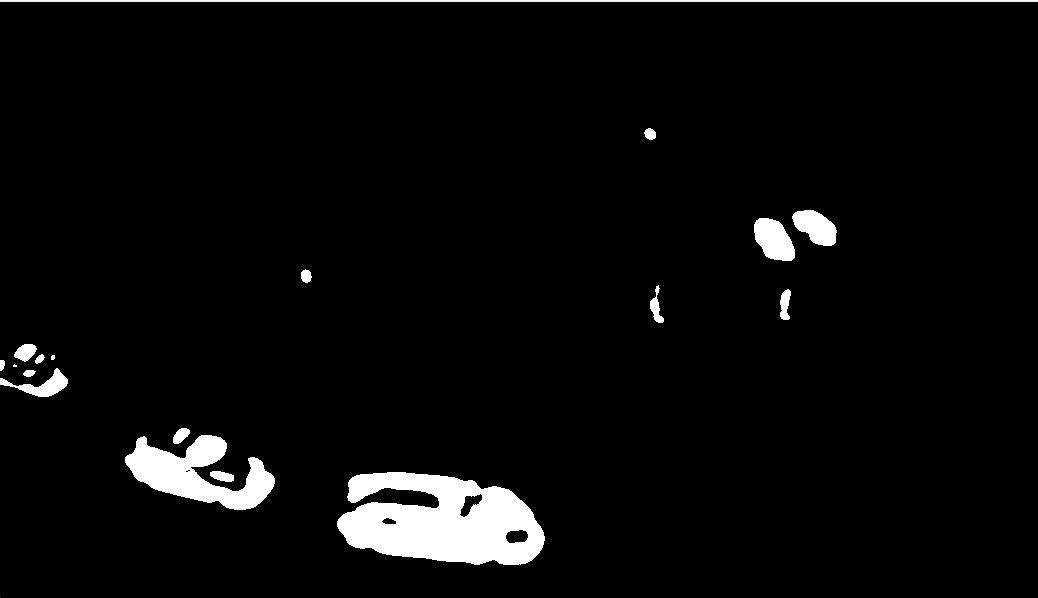
Finally, we apply image dilation to the image above, which in essence filter outs the minor details and fills gaps between the white areas.
This leaves us with a bigger area to utilize and results in better performance.
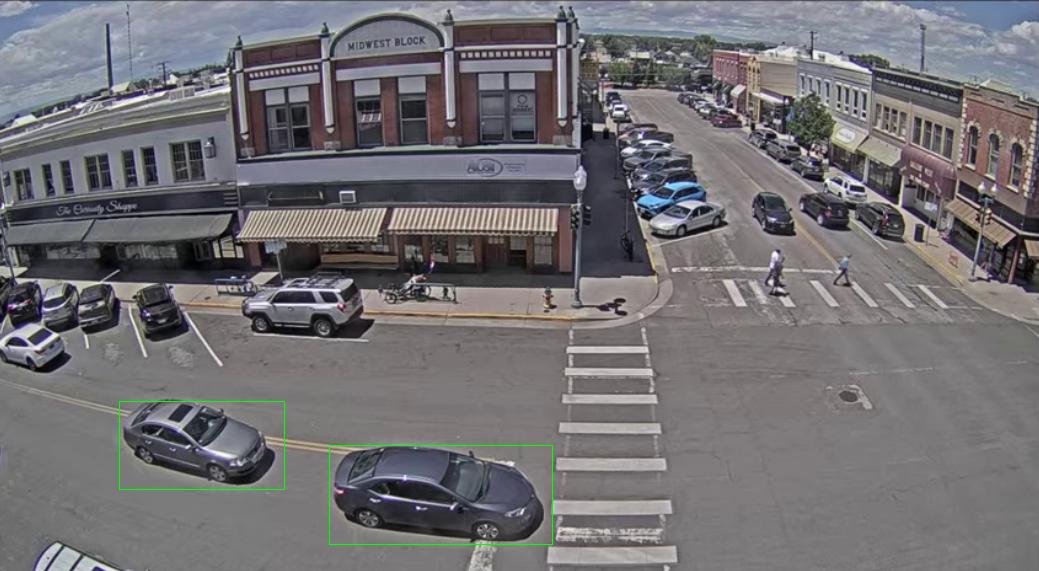
We then measure the area with white adjacent pixels and then determine whether it is a car or not based on the size of the area.
We then simply draw a green rectangle around the area of white pixels, but on the original video frames, which results in the image below as the final result.
The link at the top of the page (Visit Button) shows the actual implementation with the code, etc.
Below is a short video that shows the final result.